A soundbar is an excellent addition to any television and takes the sound to a whole new level. But even after you’ve connected it, there are plenty of ways to improve the soundbar’s audio and optimise the overall sound experience in your living room. It’s all about perfectly balancing the room’s acoustics, the device’s settings and the quality of the audio source. Find out how the correct positioning of the soundbar and subwoofer lays the foundation, which sound settings on the device are crucial, and how you can unlock your system’s full potential by choosing the right connections and audio formats. Here you’ll find expert strategies and practical tips to get the most out of your soundbar and create an impressive home cinema experience.
Key Takeaways
- Centred placement in front of the TV and an unobstructed view for up-firing speakers are essential for direct sound
- The subwoofer benefits from flexible placement; the ‘crawling method’ helps you find the best bass spot
- Optimise room acoustics: soft materials such as carpets reduce reverberation, while hard surfaces reflect sound
- HDMI eARC is the gold standard for the best quality and lossless 3D formats such as Dolby Atmos
- Sound modes (Film, Music, Night) and the equaliser allow for customisation to suit the content
- Special features such as "Clear Voice" significantly improve speech intelligibility during dialogue
What makes the sound experience
Modern televisions offer a visual spectacle, but the sound quality often fails to keep pace. Due to the slim design of TVs, built-in speakers are usually too small to produce a rich and detailed sound. This is where a soundbar comes in: it is designed to compensate for this acoustic shortcoming and deliver a powerful, clear sound. However, the journey from a standard setup to a truly immersive sound experience is often not complete simply by plugging the device in.
The sound quality of a soundbar can be influenced by various factors. These include the physical positioning of the soundbar and subwoofer, the individual settings on the device itself, and even the way the audio signal travels from the TV to the soundbar. Optimised sound is characterised by clear dialogue, precise effects, deep bass and a wide, enveloping soundstage. Particularly with films and video games, good sound contributes significantly to immersion and brings the home cinema experience to life in the living room. The aim of sound optimisation is to unlock the soundbar’s full potential and create a listening experience that inspires.
The importance of correct positioning and room acoustics
The physical placement of the soundbar and other components plays a crucial role in sound quality. Even the best soundbar cannot sound its best if it is positioned poorly.
Positioning the soundbar optimally for direct sound
The ideal position for the soundbar or sound deck is usually centred in front of the TV. This placement ensures that the sound comes directly from the direction of the picture, which enhances the synchronisation of picture and sound and improves immersion. Make sure that no objects block the soundbar’s speakers. Up-firing speakers on Dolby Atmos soundbars, in particular, require a clear line of sight to the ceiling so that the sound can be optimally reflected and the 3D effect can be fully appreciated. A clear space in front of the soundbar ensures unobstructed sound propagation and prevents the sound from being muffled or distorted.
Positioning the subwoofer correctly for rich bass
The subwoofer is responsible for the deep bass, and its placement can have a massive impact on the sound experience. As low frequencies are less directional, the subwoofer offers more flexibility in terms of positioning than the soundbar itself. Placing it in a corner or near a wall often delivers more powerful bass. However, this can also lead to a ‘boomy’ or imprecise sound if the bass is overemphasised. Experiment with the distance from the wall. A distance of 10 to 30 centimetres can offer a good compromise. A well-known method for finding the optimal position is the ‘subwoofer crawl method’: place the subwoofer at your main listening position, play bass-heavy music and crawl around the room to find the spot where the bass sounds best. That is usually the optimal place for the subwoofer in the room.
Understanding room acoustics and adjusting the sound
The acoustics of your living room have a huge influence on sound quality. Hard surfaces such as glass, smooth walls or wooden floors reflect sound strongly, which can lead to echoes and a reverberant, imprecise sound. This can be particularly disruptive with surround sound and Dolby Atmos systems, as the intended reflections from the ceiling and walls are amplified or distorted in an uncontrolled manner.
Soft materials, on the other hand, absorb sound. Rugs, curtains, upholstered furniture and even bookshelves can help reduce reverberation and make the sound seem more precise and defined. A balanced mix is key here. Sometimes even small changes, such as placing a rug in front of the soundbar or closing the curtains during a film night, can result in a noticeable improvement in sound quality. Some high-quality soundbars also offer automatic room calibration, which uses a microphone to adapt the sound to the specific acoustic characteristics of the room.
Positioning the soundbar optimally for direct sound
The ideal position for the soundbar or sound deck is usually centred in front of the TV.
Positioning the subwoofer correctly for rich bass
The subwoofer is responsible for the deep bass, and its placement can have a massive impact on the sound experience.
Understanding room acoustics and adjusting the sound
The acoustics of your living room have a huge impact on sound quality.
Fine-tuning the sound settings on the device
Most soundbars offer a wide range of settings to tailor the sound to individual preferences and the content being played. Using these features is key to improving the soundbar’s sound.
Making good use of sound modes and equaliser settings
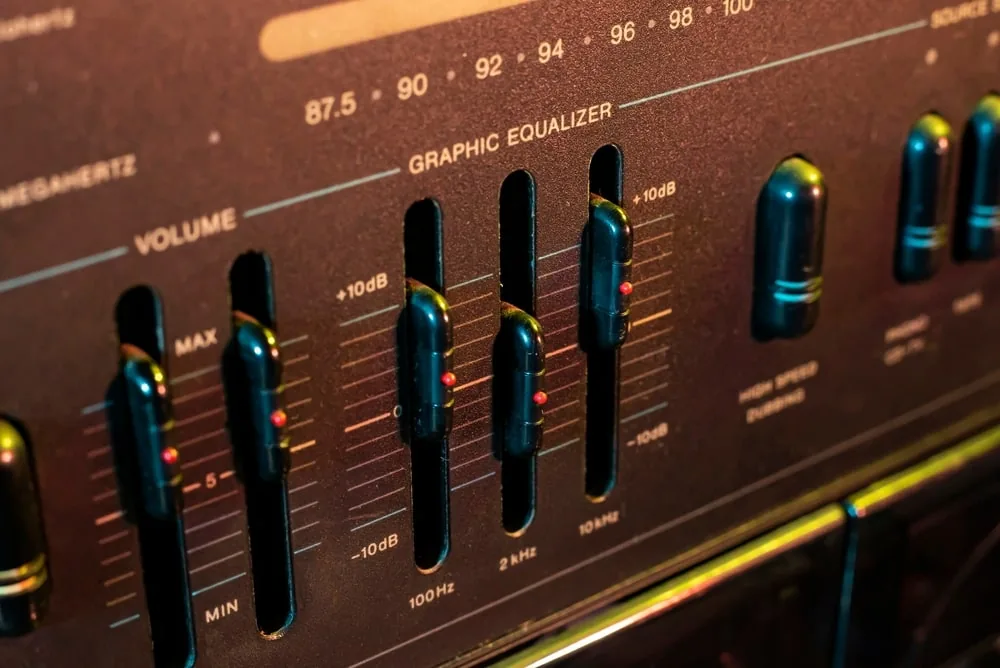
Soundbars often come with various preset sound modes, such as ‘Film’, ‘Music’, ‘Sport’, ‘Night Mode’ or ‘Standard’. Each of these modes optimises the sound for specific content. ‘Film’ mode often emphasises bass and sound effects, whilst ‘Night Mode’ highlights quiet dialogue and dampens loud explosions so as not to disturb neighbours. Experiment with these modes to find the best sound for what you’re currently playing. Some soundbars also feature an equaliser that allows you to manually adjust frequency ranges. Here, you can fine-tune the bass, midrange and treble to suit your taste.
Fine-tuning bass and treble
The balance between bass and treble is fundamental to a balanced sound experience. Overemphasised bass can make the sound boomy and imprecise, whilst too little bass robs the sound of its richness. The treble affects the clarity of voices and details. Adjust these settings gradually whilst playing different types of content (e.g. music with deep bass, a film with lots of dialogue). The aim is a natural and pleasant sound that is neither overdriven nor too flat.
Optimise dialogue intelligibility for clear voices
Nothing is more frustrating than not being able to understand important dialogue in a film or TV series because it is drowned out by music or sound effects. Many soundbars offer special features to improve dialogue clarity, often referred to as ‘Clear Voice’, ‘Voice Enhancer’ or ‘Dialogue Mode’. These features emphasise the frequency ranges of the human voice without altering the rest of the sound too much. Enable this option if you’re having difficulty hearing voices clearly. This can significantly improve the sound experience.
Adjusting volume levels and dynamics
The overall volume and dynamic range of the sound are also important. Ensure that the soundbar is operated at a reasonable volume level. Setting the volume too high can lead to distortion. Some soundbars also offer dynamic range compression settings (often referred to as ‘Dynamic Range Compression’ or ‘DRC’). This feature reduces the difference between very loud and very quiet passages. This is useful for listening at night, but can reduce the natural dynamics of films or music. Adjust this setting according to the situation.
Optimising audio playback and connections
The quality of the audio signal reaching the soundbar is just as crucial as the soundbar itself and its settings. The right connection and knowledge of audio formats can improve the soundbar’s sound.
The right connection makes all the difference: HDMI, optical
How the soundbar is connected to the TV has a direct impact on the sound quality that can be transmitted.
- HDMI ARC/eARC: This is the gold standard. An HDMI cable connected to the ARC or eARC port on your TV and soundbar enables the transmission of high-quality audio signals and often allows you to control the soundbar using the TV remote. eARC is particularly important for lossless audio formats such as Dolby Atmos TrueHD or DTS-HD Master Audio, as it offers a higher bandwidth. Ensure that both your TV and the soundbar support eARC to be able to use these formats.
- Optical connection (Toslink): As an alternative when HDMI ARC/eARC is not available, the optical connection offers good digital sound quality. However, its bandwidth is limited, and it cannot transmit lossless HD audio formats. For standard surround sound such as Dolby Digital, however, it is perfectly adequate and provides a reliable connection.
- Cable quality: Use high-quality cables. A poor-quality HDMI cable can lead to dropouts or no sound at all with eARC connections, as the required bandwidth is not achieved.
Audio formats and their effects Dolby Atmos Surround
Understand which audio formats your TV outputs and which your soundbar can process.
- Dolby Digital / DTS: These are the most common compressed surround sound formats. Most soundbars can decode these and produce a surround effect.
- Dolby Atmos / DTS:X: These object-based audio formats create a three-dimensional sound, with sounds coming from above as well. This requires a compatible soundbar (often with up-firing speakers) and an HDMI eARC connection from the TV, which must also output the signal accordingly. Check your TV’s audio settings to see if bitstream output for Dolby Atmos or DTS:X is enabled, if your soundbar supports these formats.
- PCM: PCM (Pulse Code Modulation) is an uncompressed stereo format. If you are experiencing sound issues, switching the TV’s audio output to PCM may resolve the problem, as this format is universally compatible, albeit without surround or 3D sound effects.
Software updates and soundbar apps for greater control
Regular software updates (firmware) can significantly improve your soundbar’s performance, fix bugs and add new features. Many manufacturers offer updates via a dedicated soundbar app or via USB.
- Soundbar apps: Many modern soundbars come with a dedicated app. These apps often offer advanced settings, such as detailed equaliser controls, room calibration, control of network audio (Wi-Fi) or multi-room functions. Use these apps to fine-tune the sound even more precisely.
- Calibration: Some soundbars feature automatic room calibration, which uses a microphone to adapt the sound to the acoustics of your living room. This is one of the most effective ways to improve soundbar sound quality.
Frequently asked questions about soundbar sound optimisation
When trying to improve soundbar sound, similar issues often arise. Here are answers to the most common concerns and their solutions.
Sound is tinny, booming or undefined
An imprecise or unpleasant sound can have several causes.
- Room acoustics: Is the room very bare and does it have many hard surfaces? This can lead to echoes and boomy bass. Try adding soft materials such as carpets, curtains or upholstered furniture to absorb the sound.
- Soundbar and subwoofer placement: Check the distance between the soundbar and subwoofer and the walls and corners. If the distance is too small, it can overemphasise the bass. Experiment with the position to find a balanced sound.
- Sound settings: Check the bass and treble settings on your soundbar. Reduce the bass if it is too dominant, or increase the treble for greater clarity. If necessary, use the equaliser to adjust specific frequency ranges.
- Audio format: Ensure that the audio format sent by the TV matches what the soundbar can handle best. Sometimes switching to PCM helps to avoid compatibility issues, although this may result in the loss of surround sound effects.
Soundbar sound is too quiet or unbalanced
If the overall volume level is unsatisfactory or the sound seems unbalanced.
- Check volume levels: Ensure that the volume is set high enough on both the TV and the soundbar itself.
- HDMI-CEC: If the soundbar is connected via HDMI ARC/eARC, check the HDMI-CEC settings on the TV. Sometimes there are conflicts that affect volume control. Disable and re-enable CEC.
- Audio output on the TV: Make sure the TV is outputting the audio signal at the correct quality and is not, for example, falling back to a weak internal signal.
- Dynamic range compression: Check whether dynamic range compression (‘DRC’ or ‘Night Mode’) is enabled. This feature reduces peak volume and can make the overall sound seem quieter. Disable it for a richer dynamic range.
- Channel volume: Soundbars with surround sound or Dolby Atmos may have separate settings for the volume of individual channels (front, centre, subwoofer, surround, up-firing speakers). Adjust these to create a balanced soundstage.
Missing or weak surround sound effect
If the expected spatial sound is not coming through.
- Check audio format: Ensure that the audio format being played is actually surround sound (e.g. Dolby Digital, DTS) or a 3D format (Dolby Atmos, DTS:X) and not just stereo PCM. Check the audio output settings on the TV (bitstream output for multi-channel audio).
- Connection type: An HDMI eARC connection is almost always required for Dolby Atmos. Optical cables cannot transmit lossless 3D audio formats.
- Soundbar mode: Select the appropriate surround sound or 3D audio mode on your soundbar.
- Room acoustics and placement: Hard surfaces can disrupt the surround effect or make it imprecise. For up-firing speakers (Dolby Atmos), a clear reflective surface on the ceiling is crucial. For physical rear speakers, ensure they are correctly positioned and connected, and have a direct line of sight to the listening position.
- Calibration: Use your soundbar’s automatic room calibration, if available. This feature can optimally adjust the levels and delays of the individual speakers to suit your room and enhance the surround effect.